Showing posts with label recipe. Show all posts

Friday, March 23, 2012

Blueberries and Cream Puff

Wednesday was my manager's birthday, so we all made treats to celebrate! I made a blueberry and cream tart because her husband told another one of our manager's that her favorite fruit is blueberries. I had made this once before and loved how light and summery it was, so I thought it was perfect since we're already getting such warm weather. Here is the recipe:

Ingredients:
1 sheet frozen puff pastry (8oz), thawed
1 egg
3-4 tablespoons sugar
4 oz cream cheese
1/4 cup heavy cream
zest of a small lemon
about 2 cups blueberries

Instructions:

Preheat the oven to 375 and roll out the puff pastry as much as you can. I use one of my flexible cutting boards, sprinkle some flour on it, and roll out the pastry on there.I usually make it so that it fits my cookie sheet pretty well width wise. Then I put parchment paper over the pastry so that I can flip the cutting board and dough over onto there; I find that easier than lifting (and usually breaking) the dough. Use a butter knife to score a border around the edge of the dough. You want to leave about 1 inch of space for the "crust." My edges are never straight, but you want to score the edges in a straight line. Sprinkle about 1 tbsp. sugar onto the edges/crust pretty thickly, and then sprinkle some of the middle of the dough as well. Bake in the oven for 15-18 minutes; it should get pretty crispy but definitely not burned. 

While you wait for that to be done, but the cream cheese and heavy cream in your mixer and beat until smooth. Then add the lemon zest and 2 tablespoons sugar and continuing beating until smooth again. That's it for the cream portion!

When the pastry is done int he oven, it will be really puffy - don't be concerned! I was the first time. Take the butter knife and cut through the top layer of the pastry where you scored it before it went in the oven. Push the middle square down so that the middle of the pastry is flat. Let that cool completely before you spread the cream mixture into that middle portion. Then, add the blueberries and you are done!


Rolled out, with straight lines scored.

Once it is out of the oven, you can cut through and push down the center like this.
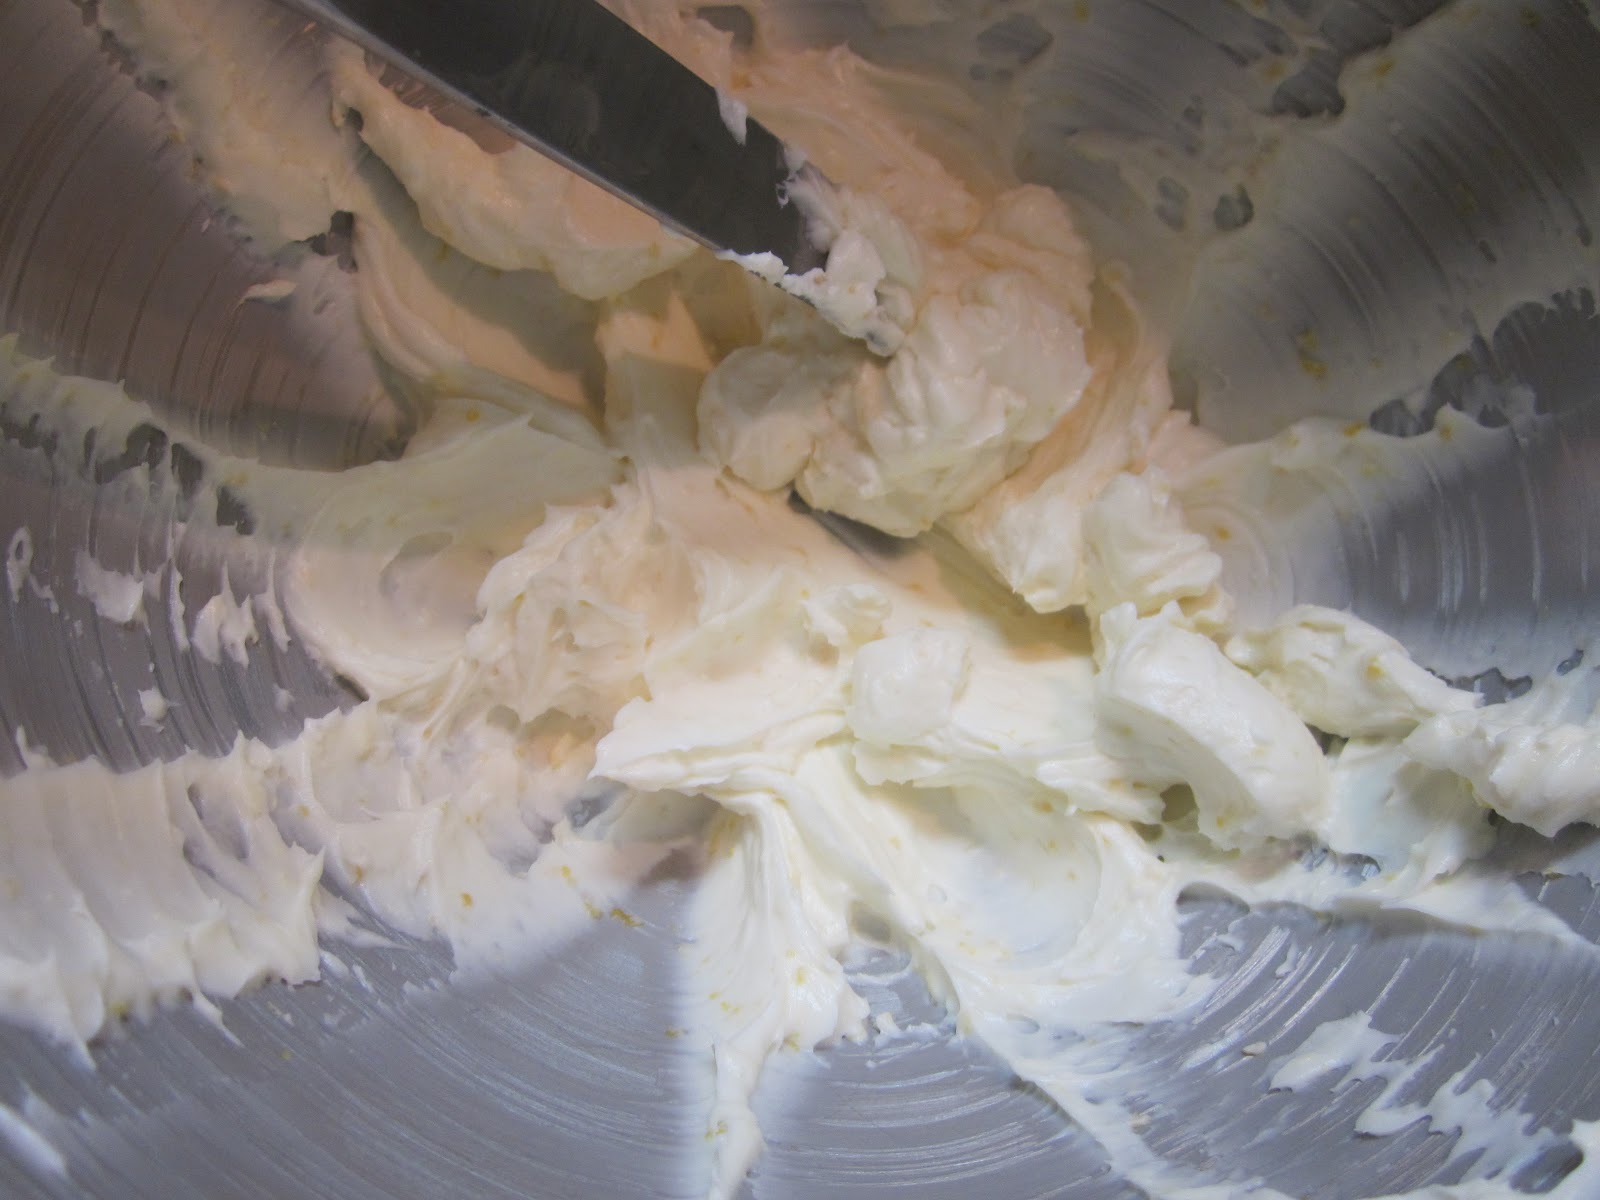
The cream mixture! Doesn't look like a lot, but it goes far.

It doesn't have to be pretty when you spread it out, because you won't be able to see it.
Just try to make sure its fairly evenly spread.

Add the blueberries!

Done :)

Tuesday, March 20, 2012

Korean Beef!

I have to start this recipe off by giving full credit to my friend Isabella, who gave me this Korean Beef recipe after she made it for us a little over a year ago. I have always loved Korean BBQ, so she and her husband made this for us and passed along the recipe. They are Korean and I believe it's a family recipe of his, so its a serious winner. I have found that you don't have to really be to precise with it for it to turn out perfectly. For example, I used 5 lbs of meat this time around and it tasted pretty much the same as when I have used 1/2 as much meat. It is always super delicious and popular, and has a pretty unique flavor. So here goes:

Ingredients:
Boneless Short Ribs 
(I've been using chuck roast instead when I want to save money)
About 1/2 cup Soy Sauce
1/2 Onion, chopped in large chunks
3-4 chopped up Garlic Cloves (I often double this)
1 cup Sugar
1/2 tbs Ground Pepper
1/2 Korean Pear (or a Kiwi) in chunks
Sesame Seed Oil

Instructions:

Wash the meat and cut it into squares. I do squares that are about 2"x2". Put the meat into a large mixing bowl and pour in the soy sauce. It should be a generous amount of soy sauce, but shouldn't be drowning the meat. From my experience, it is best if all the meat is coated, but you can only kind of see the soy sauce piling up below the meat, like in the picture below:

The meat chunks

The amount of soy sauce I find works best

Add in the onion, garlic, sugar, pepper and the Korean Pear. Mix everything together:


Cover the bowl with plastic wrap for a couple hours, and then mix in a bit of sesame oil about 1 1/2 hours before cooking the meat. It should look like this when you are ready to go:


Put in as many pieces that will sit flatly in the pan, and flip when ready.


When it's done.


This time we served it over rice, but sometimes we do tempura veggies as an appetizer and don't have any room left for sides. Since we did 5 lbs this time around we thought we would have a ton of leftovers, but we didn't! Seems to be a theme when Korean Beef is made.


Saturday, February 25, 2012

Red Velvet Cookies

Every time I have made Red Velvet Cookies at work, I get asked for the recipe. Yesterday I made them because it was Zach's manager's birthday. I decided that this time, I should go ahead and post it on here. This is a seriously easy recipe, and having the mixer makes it even better. This is actually the reason Zach thought to get me the KitchenAid for xmas, because he was sick of having to help me stir when my arm got tired :) So here goes:

You need:
A box of red velvet mix
1 1/2 - 2 cups white chocolate chips
1 cup flour
1 egg
2 sticks of butter


Edit: Zach thinks I should share how AWESOME these are with cream cheese frosting to dunk them in. He is right. Add that to your ingredients list.

After you preheat the over to 350, mix the butter until soft and fluffy. It is much faster/easier if you have let it sit out a bit to soften, but I rarely plan that far in advance. Once it is softened, it should look like this:


Then you want to slowly mix in the cake mix and the flour. I alternate between the two, but I don't think its crucial that you do it one way or the other. It is going to look pretty dry along the way.


Once it is all mixed in, add the egg and mix until that is fully incorporated. Then you can go ahead and form small balls of dough and start baking. *Note: do not make these right before heading out to an event, or anywhere that you don't want your hands to be stained red. Also, I apologize in advance for how ridiculously bad (worse than normal) the picture below is. I was about to shove them in the oven when I decided to grab the camera and snap a shot.


I have seen a few recipes recommend cooking these for anywhere from 5-10 minutes. I usually get to cook them for at least 12 minutes, so I recommend keeping your eye on them. They should look kind of crackly on the outside once they are done.


I have also seen recipes that call to use white chocolate chunks, instead of chips, but I find that the chips are much easier. They are seriously SO delicious and I get compliments from everyone that tries them. I have even had people offer to pay me to bake a batch for them. 

Wednesday, February 22, 2012

Cinnamon Sugar Nuts

With all of the warm weather periods we've had lately, I have a feeling spring is going to be coming very early this year (tomorrow should be 70!). So this past weekend I made one of my favorite snacks for cold weather, so I could get one last batch in while there is time. I have made cinnamon almonds and walnuts throughout winter, and I got a TON of walnuts for 50% off so I chose to make those. They are super easy, here's how:

Combine a cup of sugar, 1/2 tablespoon of cinnamon and 1/4 cup water in your skillet.


Throw the nuts on top and start cooking! Make sure all of the nuts get covered in the mixture and stir constantly.


Eventually the nuts will start feeling like they are sticking together more and are harder to move around the pan. They will also start to look more dry:


Once it starts looking like the image above, just stir for about 30 more seconds to make sure all of the nuts are finished.


And them eat them until you can't anymore. They are always super popular when we have people over!

Tuesday, January 17, 2012

Not So Thin Mints

So, back to the "Thin Mints" Kristen and I made over the weekend. I found a recipe for cookies that were supposed to taste exactly like Thin Mints on Pinterest. I was pretty pumped. GS cookies aren't expensive at $4 each, but when you end up getting 10 boxes worth, it can add up. So Kristen and I decided to bake those and smores cookies this weekend to break in my mixer. Well, the Thin Mints ended up being much more difficult to make than we expected; it isn't that easy to coat the cookie pieces in a thin layer of chocolate, but it is definitely necessary to make them taste right. I would also recommend cooking them longer than expected, so they aren't soft at all (recipe calls for hard edges, I call for hard all over). Lastly, we think we would add more peppermint extract to the dough next time, or maybe to the chocolate that you coat it in. When we first tried them, we weren't impressed. However, the next day I tried them again (after they had sat out over night) and they were MUCH better. I think them becoming stale, and therefore more crisp, really helped.